 FPS / Shooter
Delta Force Hazard Operations Beginner's Guide: How to Extract With Loot
Hazard Operations is Delta Force's extraction mode — the tense, high-stakes cousin of the game's big Warfare battles. You drop into a hostile map as a squad of up to three, scavenge for loot and objectives, and try to reach an extraction point before you die. Everything you carry out is yours to keep; everything you bring in and lose is gone.
This guide is for your first real raids. It won't turn you into a top extraction player overnight, but it will stop you from losing everything on the walk in.
How Hazard Operations Works
- Squad size: you deploy in a team of up to three. Solo players are matched with, and against, the same kind of threats.
- The loop: drop in → loot and complete objectives → reach an extraction point → keep what you extracted.
- Risk: gear you bring in and lose is lost for good. This is why beginners should bring cheap gear first.
- Loot: high-value items spawn in specific rooms, containers and key-locked areas; some map hazards (like AZ3's radiation) gate the richest zones.
- Timers: matches are time-limited, and a loot ownership timer means freshly dropped loot may be locked to you for a short window before it's free for anyone to grab.
Bring (and Risk) Cheap Gear First
The single biggest beginner mistake is treating the first ten raids like a shopping trip. They aren't. Your first ten raids are map lessons — and map lessons should be cheap.
- Run a bare-bones kit. A mid-tier weapon and basic armour is plenty.
- Learn extraction routes, not loot routes. Knowing how to get out is worth more than any item you'll find early.
- Pick one fixed route and walk it every raid until you can do it without the map.
- Memorise three pieces of cover on that route — the spots you'll use to break line of sight when you're shot at.
Every map also has a gear value threshold you must meet to enter certain difficulty tiers. If a map blocks you, read our Delta Force gear value guide for how to clear the number cheaply.
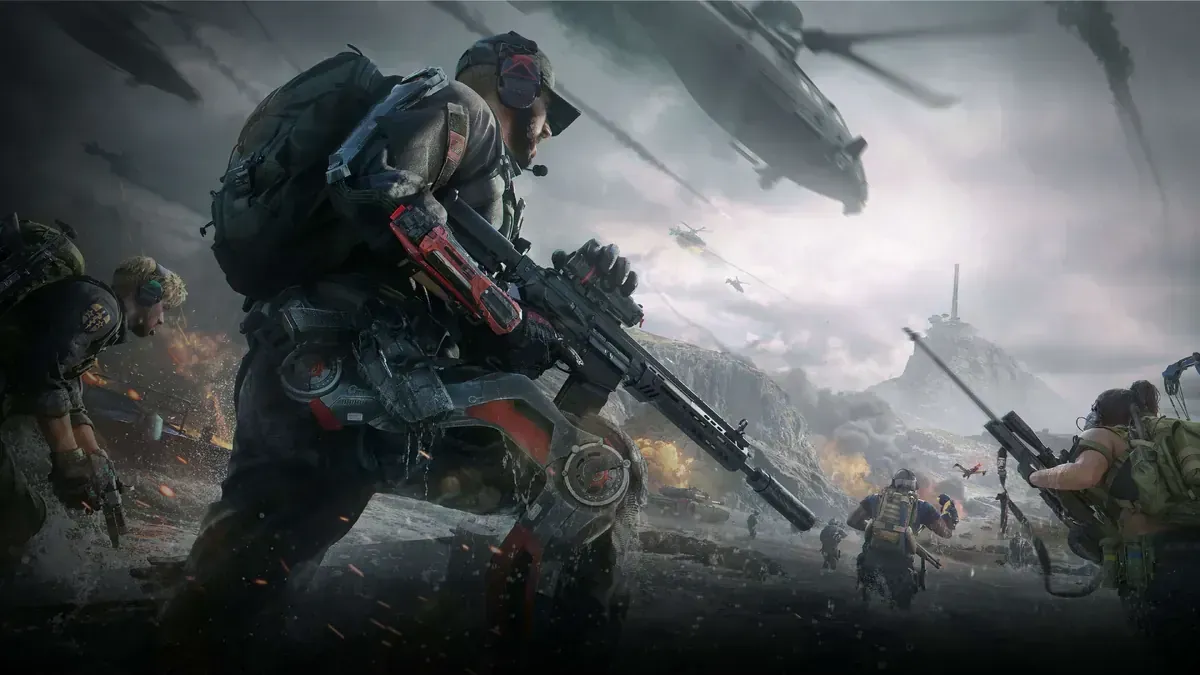
Where Loot Actually Comes From
Not all loot is equal, and not all of it is worth your life.
- Containers and desks are the bread and butter of early raids — low risk, steady returns.
- Key-locked rooms hold the best loot but require keys you'll need to buy or find.
- High-value ground spawns appear in fixed spots; experienced players learn the tables by heart.
- Player bodies are high-value but high-risk — fighting for loot is how most beginners die.
Rule of thumb: loot what's on your route; don't detour for what isn't. A clean extraction with a full bag beats a death with a legendary item you never got to sell.
The EDC Tool Kit and Extraction Rules
Before you extract, understand what actually counts:
- You carry an EDC (everyday carry) tool kit of consumables — meds, ammo, utility. These keep you alive but generally do not add to your gear value for entry checks.
- Secure containers protect a small number of items even if you die. Put your most valuable find in one before you push anything risky.
- Extraction points are fixed locations; some require special conditions (a key, no backpack, a specific gate). Learn which your route uses.
Your First-Three-Raids Plan
- Raid 1 — orientation. Bare kit. Walk the map, find one extraction point, extract. No fighting.
- Raid 2 — loot light. Same route, but loot only containers directly on it. Extract before the timer pressures you.
- Raid 3 — fight once. Take one engagement you can control, then leave. Practise disengaging.
If you extract three times in a row, then start upgrading your kit. Map knowledge compounds; gear doesn't.
Timing Your Extraction
Memorise two numbers on the clock:
- At ~30% of the match remaining: start moving toward your extraction point.
- At ~15% remaining: you should already be on the way. If you're not, drop what you're doing and run.
The most common way beginners lose a full bag is greed: "one more container" turns into a death at the extract.
Ammo and Gear Match the Lobby
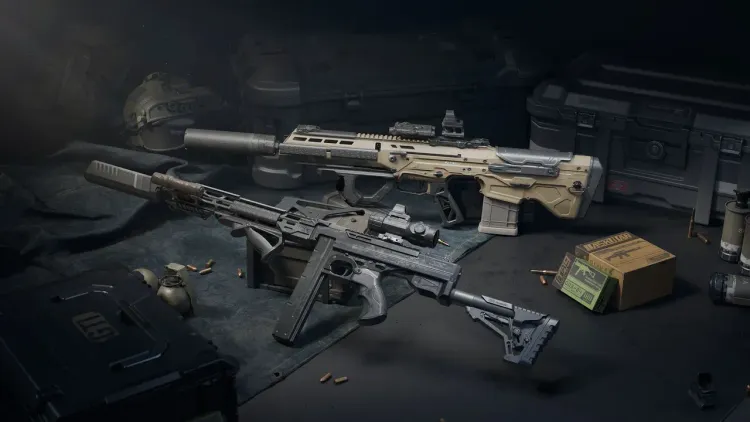
Cheap ammo bounces off geared players. If you're entering a high-tier lobby, bring armour-piercing rounds that can actually kill what you'll meet — otherwise you're carrying a light show, not a weapon.
Quick Beginner Checklist
- ✅ Cheap kit for your first ten raids.
- ✅ One fixed route, three memorised cover spots.
- ✅ Know your extraction point before you loot.
- ✅ Use a secure container for your best find.
- ❌ Don't detour for loot off your route.
- ❌ Don't fight for someone else's body unless you must.
Learn to get out alive first. Then learn to get out full.
🏷️ Related Tags
🔥 Topics
Delta Force Best Loadouts 2026: Meta Weapon Builds for Every Class & Mode
Next →Delta Force Gear Value Guide: How to Meet Map Entry Requirements Cheaply
More “Delta Force” Content
 FPS / Shooter
Delta Force Best Loadouts 2026: Meta Weapon Builds for Every Class & Mode
From lane-holding assault rifles to zero-recoil SMGs, these are the meta Delta Force loadouts for Warfare and Operations — with full attachment lists and import codes.
 FPS / Shooter
Delta Force Gear Value Guide: How to Meet Map Entry Requirements Cheaply
High-tier Operations maps demand a minimum gear value to enter. Here is how the system works and how experienced players hit the threshold for far less than it looks.
 FPS / Shooter
Delta Force Gun Build Codes: Best Weapon Codes for Operations & Warfare
Copy-and-paste gun codes are the fastest way to a competitive Delta Force weapon. Here are the meta builds for both Operations and Warfare, and how to use them.
 FPS / Shooter
Delta Force Operators Guide 2026: All Classes, Roles & Best Picks
Delta Force operators fall into four classes — Assault, Engineer, Support and Recon. Here is what each does, its best operator, and how to build a squad.