 Strategy / Tactics
Factorio Early Factory: Ratios, Belts, and Automating Science
The Numbers That Keep Belts Full
The hardest part of a first Factorio base is not space, it is the lack of benchmarks. Without a few reference numbers you cannot tell whether the real problem is ore, plates, or power, so you end up placing machines at random and watching belts stall. A small set of ratios fixes that. A yellow belt carries 15 items per second. An electric mining drill outputs half a resource per second, which means 30 drills fill one yellow belt of ore. A stone furnace smelts about 0.3125 plates per second, so roughly 48 stone furnaces fill a yellow belt of plates, while 24 steel or electric furnaces do the same on a faster belt. The classic steam reference is one boiler for every two steam engines, and at full scale one offshore pump supports 200 boilers and 400 engines.
Read the factory in order when something breaks. If ore is missing, count miners. If ore arrives but plate belts have gaps, count furnaces. If everything slows at once, check steam power before adding more assemblers, because a power brownout makes inserters and miners blink and labs stall even when the layout is fine. Internalising these seven numbers turns guesswork into diagnosis, and diagnosis is what separates a base that scales from one that collapses the moment you add science.
From Burner Drills to a Real Line
Your opening hour is deliberately manual. Mine stone by hand, craft stone furnaces, and place a burner mining drill on iron ore with its output arrow pointing straight into a furnace, so the drill drops ore directly without belts or inserters. Do the same on copper. Two burner drills facing each other on coal will refuel one another and stockpile fuel, which spares you constant hand-carrying. Reaching 50 iron plates unlocks steam power, and 10 copper plates unlock electronics, so your burner setup quietly earns both. From there you craft a lab, which unlocks the Automation science pack recipe of one copper plate plus one iron gear wheel.
Build steam power by placing an offshore pump on water, piping it to a boiler, and attaching two steam engines to the boiler's steam output, then feed the boiler coal and run small electric poles to your labs. Research Automation, the electric mining drill, and Logistics, then build an assembler making gears that feeds assemblers making red packs, with inserters moving items between them. Green science follows once you research the Logistic science pack; its recipe is one inserter plus one transport belt. When red and green both run unattended, the opening is over and you can stop hand-crafting.
| Milestone | What to automate | Why it matters |
|---|---|---|
| Step 1 | Burner smelting of iron and copper | Removes manual ore hauling |
| Step 2 | Steam power block | Stops the brownouts that stall everything |
| Step 3 | Red science (automation pack) | First self-sustaining research |
| Step 4 | Green science (inserter + belt) | Unlocks logistics and mid-game tech |
| Step 5 | Gear and circuit sub-factories | Feeds both science and your building mall |
A reliable starter target is two red-science assemblers, two green-science assemblers, and four to six labs; that is enough momentum to keep the tech tree moving while you expand.
The Main Bus and Avoiding Spaghetti
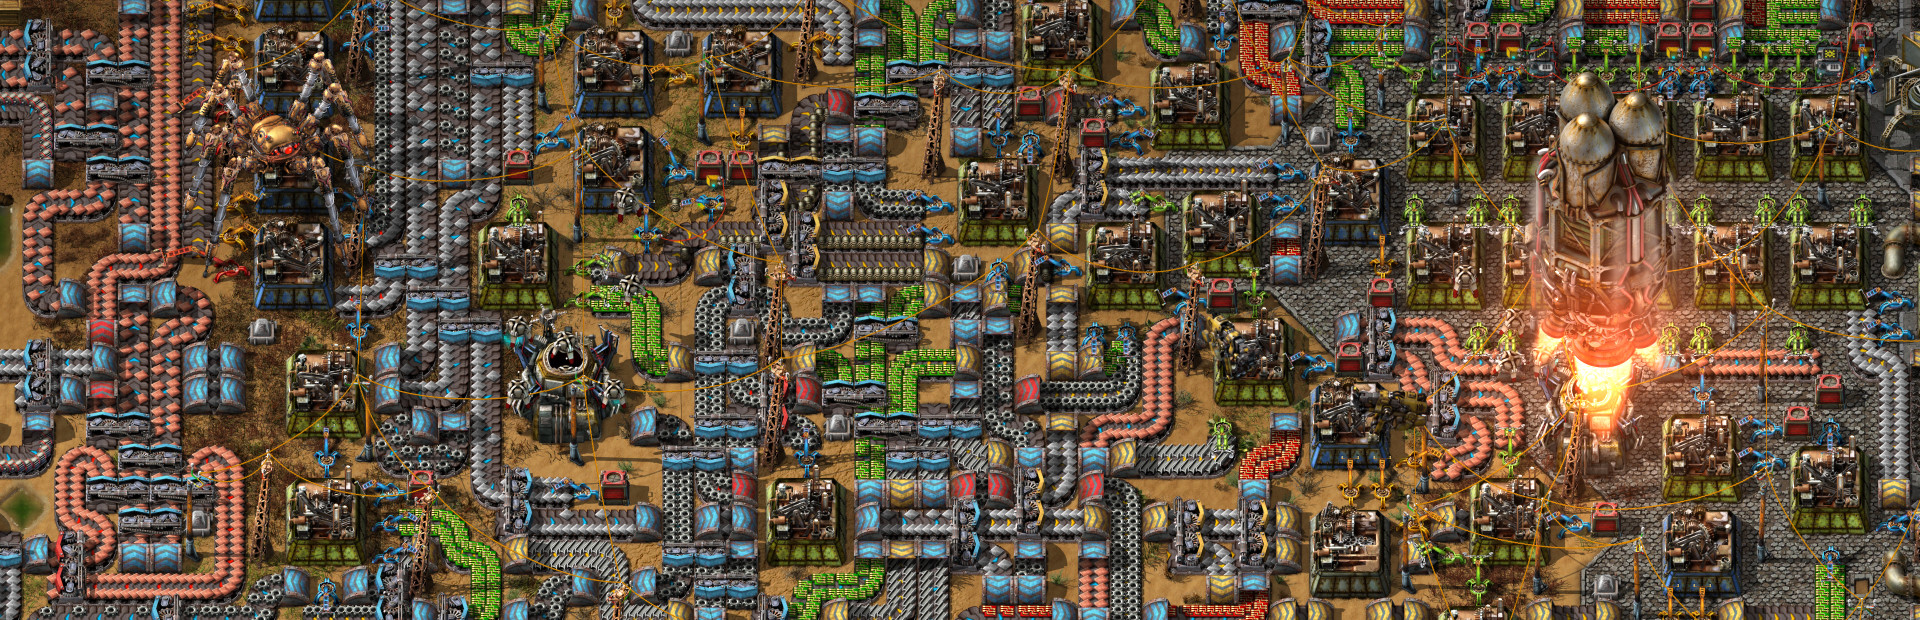
The mistake that kills first factories is building everything in-line: smelters to a belt to assemblers to a belt to labs, all in one long chain, so when one assembler runs dry the entire line stops. The fix is the main bus, a set of parallel belts running through the centre of your factory that each production line taps from the side. For a first run, run four lanes of iron plates, two lanes of copper, one lane of gears, and one lane of green circuits, leaving gaps between lanes for underground belts and power poles. Each production line pulls what it needs and outputs its product on its own belt, so the bus keeps flowing even if one line stalls.
Smelting should be a column: about 24 stone furnaces per ore type, twelve on each side of a belt, iron on one belt and copper on another, with steel given its own dedicated column because it costs five iron per plate. Keep iron, copper, and steel on separate lanes, make copper cable on site rather than on the bus, and only add green circuits once your steam block is stable. Build science as a side-factory that pulls from the bus and outputs packs on a dedicated belt, never back onto the bus, because labs will otherwise steal materials meant for other production. Your mall, which makes belts, inserters, and assemblers to hand-place, is a separate concern from your science line and should not share a belt with it.
Scaling Science and Defending the Base
Once red and green science are automated, the next milestones are steel production, oil processing for plastic and sulfur, and blue science that needs engines and red circuits. The classic base-game science ratio of 5:6:5:12:7:7 for the first six pack types is a useful target once the factory is stable, but you do not need it on day one. What you need is steady throughput: scale steam in repeatable chunks, expand copper early because green circuits consume it faster than almost anything, and resist upgrading to red belts until you have actually found the bottleneck.
Defense is the part new engineers forget. The first automated turret eats magazines, not electricity, so stock ammo and lock the key entrances rather than trying to cover every tile. As the factory grows, protecting valuable choke points matters more than blanket coverage. A useful habit is to keep a small reserve of belts, inserters, and assemblers in a personal logistics chest so you can patch a line without walking back to the mall, which keeps expansion momentum when a bottleneck finally reveals itself.
If you are ever unsure what to fix next, work the checklist in this order: power, plates, green circuits, science, then defense. That sequence alone resolves the majority of early-game stalls and keeps your base readable as it expands. Resist the urge to upgrade belts or chase modules before the underlying ratios are correct, because a faster belt only exposes a deeper shortage of plates or power. Once red and green science run hands-free and your bus stays balanced, you have earned the right to add oil, rails, and eventually the logistics robots that turn a tidy bus into a city-block megabase. The rocket is a long way off, but every stable step here is what makes that later complexity survivable.
Reading a Stalled Belt: Four Stops, Upstream to Downstream
A stalled line is a signal you can walk rather than guess at. Always move upstream from whichever machine is starved, and classify what you see into one of four patterns before building anything. Each pattern points at a different shortage, and guessing costs more time than the walk.
Pattern one: machines at the far end are working and full, but nothing arrives. That is a distribution problem on the feeding lane, so continue upstream instead of adding machines. Pattern two: every machine is idle but its input belt is packed. Supply is fine and the output side is blocked, usually because the consumer downstream is full or its own product has nowhere to go. Pattern three: machines run continuously but their output belt shows gaps. Supply is thin, and adding machines simply divides the same shortage among more consumers. Pattern four: everything pulses between running and paused in rhythm. Check power satisfaction before touching layout, because brownouts imitate every other problem at once.
| Symptom | Likely cause | Check next |
|---|---|---|
| End of a row full, front machines empty | Upstream is consuming the whole lane | Walk upstream one stop and repeat the diagnosis |
| Machines idle with packed input belts | Downstream is blocked | Consumers, storage limits, or a backed-up output lane |
| Machines running but output has gaps | Insufficient input rate | Upstream production and the feeding lane |
| Everything pulsing in unison | Power shortfall | The satisfaction bar before anything else |
The habit worth internalising is the difference between insufficient supply and insufficient throughput. Adding machines fixes the first and does nothing for the second, and confusing the two is why bases sprawl without speeding up.
The Half-Belt Problem: Lanes, Priority, and When Not to Balance
A belt carries two independent lanes, and many early bottlenecks are not throughput problems at all but one-sided loading. Anything inserting onto a single side fills only half the belt, so downstream everything looks busy while you are actually moving half your intended rate. One inserter feeding a line, machines arranged along a single side of a belt, or a merge that only ever touches one lane all produce this effect, and it stays invisible unless you look at the belt rather than the machine count.
Fixing it is cheap. Feed from both sides so both lanes fill, or merge two full single lanes into one compressed belt, which is often the best available upgrade before touching faster belt tiers. Verify by looking at the belt from directly above: one lane packed and the other gapped means you found your missing capacity without building anything.
Balancers are not the answer to a shortage. Equalising allocation spreads an existing shortfall evenly across every consumer, turning a traceable problem into a general slowdown. Prioritise first and balance later: a priority output that feeds the critical machine everything it can take, then passes the remainder onward, keeps the important lines alive while you fix the real cause upstream.
| Symptom | Likely cause | Fix |
|---|---|---|
| Downstream belt looks half full everywhere | One-sided insertion | Feed both lanes or merge two lanes |
| Adding a consumer slowed the existing ones equally | An already-thin lane was split again | Priority output to the critical consumer first |
| All lines improved evenly except one still starving | Distribution issue, not supply | Diagnose upstream rather than rebalancing |
Sizing With Arithmetic Instead of Guessing
You only need one formula, and every machine tooltip supplies the inputs. Output per second is the recipe output count divided by its craft time, multiplied by the machine crafting speed shown in the interface. Machines needed to fill one belt is belt capacity divided by that per-machine figure. After this, the recurring question of how many machines a belt supports stops being a feeling.
Round up and reserve space. If the arithmetic says five and a fraction, build six and leave room for a seventh, because partly starved machines spend most of their time idle and mislead your next diagnosis. Size for the belt rather than for the machine you feel like placing. Remember too that anything feeding science must be measured in packs per second rather than raw components, since each pack bundles several products whose rates never match unless you planned for them. Fluids follow different rules: pipes lose throughput over distance, so long runs need pumps spaced along them, and storage behaves as a buffer rather than a source.
Layout Rules That Keep Expansion Cheap
Avoiding tangles is not aesthetic. Every tangle costs you time later by blocking the path you eventually need, and four rules prevent most of them. First, fix a lane pitch and never deviate, leaving a consistent two-tile gap between belt groups so power poles and underground crossings always fit without redesign. Second, build production blocks perpendicular to the bus and always on the same side, leaving the opposite side permanently free. Third, never place anything directly in line with the end of the bus, which must always be able to continue. Fourth, standardise lane order and learn it by heart, because a bus whose order changes halfway through forces every new tap to hunt for its material.
Large storage buffers deserve suspicion. They look like they solve shortages and for one cycle they do, but a container feeding a starved line only delays the problem, hides that input never matched demand, and then collapses all at once. Use small buffers to smooth start-up and hand-feeding, never as capacity.
Finally, run a self-check every twenty minutes, answering four questions in order. Is power satisfied right now? Are any bus lanes idle where they enter the bus, meaning upstream is short rather than misdistributed? Are there half-full belts? And is research still advancing? That last one catches the most expensive early failure of all, because a factory whose labs stopped looks identical at a glance to one running perfectly.
🏷️ Related Tags
🔥 Topics
Elden Ring Stat Builds: Vigor, Endurance, and the Math Behind the Meta
Next →Ghost of Tsushima Stealth: The Ghost Playstyle and Silent Takedowns