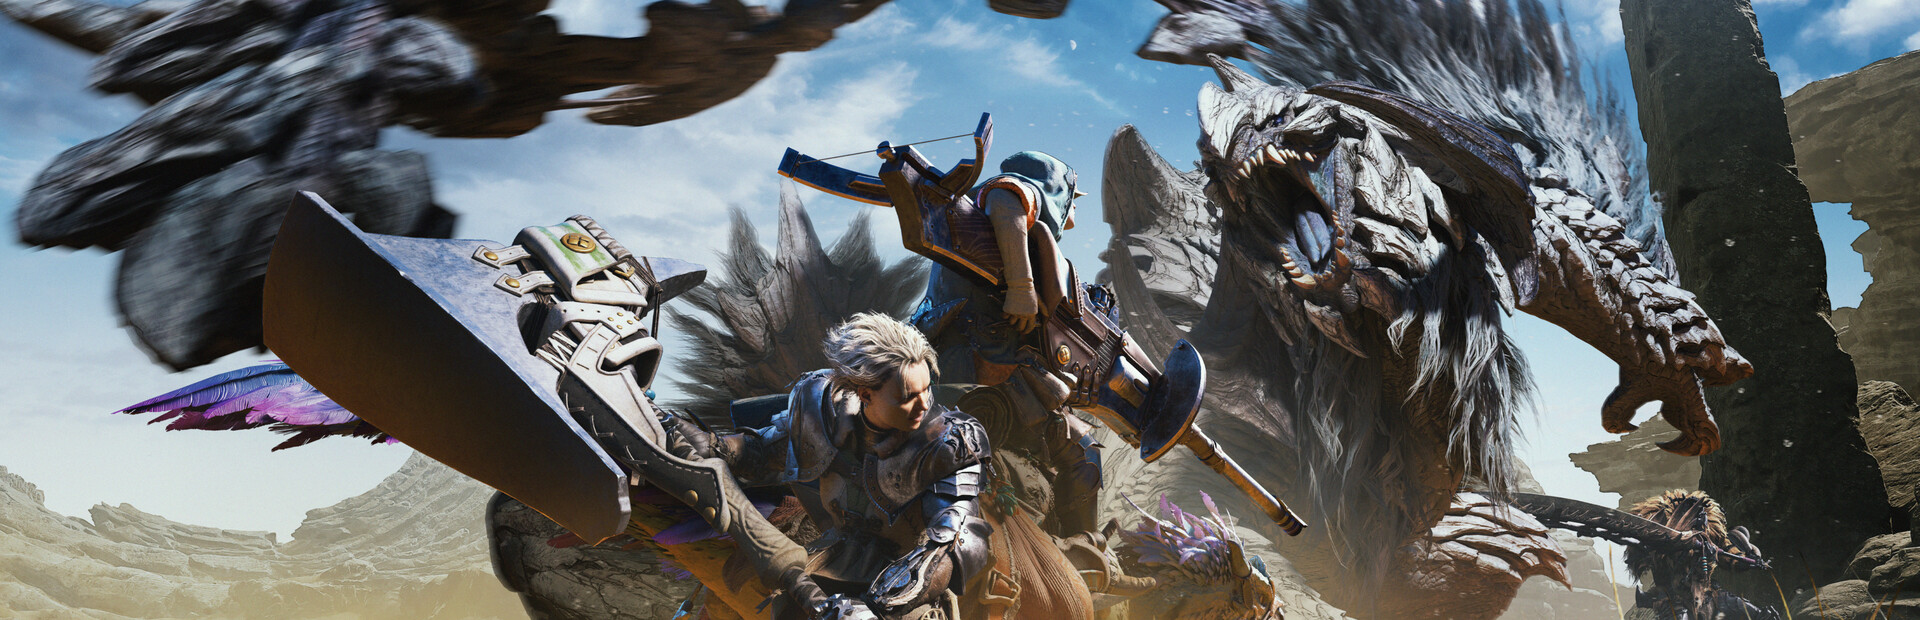
 RPG / Action
Monster Hunter Wilds Weapon Choice: 14 Types and the Wound System
Fourteen Weapons, One Hunt
Monster Hunter Wilds hands you fourteen weapon types, and each one plays like a different game. You are not picking a class; you are picking a playstyle, a commitment level, and a way to read the monster in front of you. The good news is that every weapon can clear every fight, so the only wrong choice is one you find boring.
Before committing, visit the Training Area at your camp and spend about twenty minutes testing anything that catches your eye. The handling you feel in your hands matters more than any tier list. Below is a quick map of the roster, followed by the beginner pick and the systems that tie it all together.
The Roster at a Glance
| Weapon | Style | Difficulty | Best for |
|---|---|---|---|
| Sword and Shield | Melee | Easy | All-round use, items while drawn |
| Long Sword | Melee | Easy | Consistent damage and counters |
| Great Sword | Melee | Medium | Highest single hit |
| Hammer | Melee | Medium | Stuns and knockouts |
| Dual Blades | Melee | Medium | Fast elemental damage |
| Switch Axe | Melee | Medium | Sustained aggression |
| Gunlance | Melee | Medium | Guard plus explosions |
| Lance | Melee | Medium | Blocking and pure safety |
| Hunting Horn | Melee | Medium | Team buffs and support |
| Insect Glaive | Melee | Hard | Aerial play and tail cuts |
| Charge Blade | Melee | Hard | Flexible offense and defense |
| Bow | Ranged | Hard | Mobile, safe ranged damage |
| Light Bowgun | Ranged | Medium | Mobility and status effects |
| Heavy Bowgun | Ranged | Hard | Heavy sustained firepower |
Notice that no weapon is flagged impossible. Difficulty is about how many systems you must juggle, not whether you can win.
Why Sword and Shield Is the Best Start
For a first hunt, the Sword and Shield is the most forgiving option and the one most guides recommend. It is fast, mobile, and easy to learn, but its standout feature is unique: you can use items without sheathing your weapon. That means you can swing, then immediately drink a potion or apply a trap without the vulnerable sheathing animation. Few things save more hunts than healing mid-combo.
The shield also blocks, which teaches defensive timing without the commitment of a Lance. Its short reach is balanced by high attack frequency, so you are always building pressure. If you want a ranged comfort pick instead, the Light Bowgun keeps you safe at distance, while the Long Sword is a strong middle ground that teaches counters and reach. Avoid Charge Blade, Hunting Horn, and Insect Glaive as a first weapon; their depth is best learned after the basics click.
The Wound System and Focus Mode
The biggest new mechanic in Wilds is Focus Mode, which lets you aim your attacks at specific parts of the monster. Hammer the same spot repeatedly and a Wound forms: a glowing crack that marks a weak point. Attacks on a Wounded part deal roughly 25% bonus damage, and a Focus Strike on the Wound can topple the monster for a free damage window.
This is the heart of modern hunting. Build your rotation around creating Wounds, then switch to Focus Mode to spot and exploit them. Some weapons, like the Gunlance, cash Wounds in with huge Focus Strike bursts, while others use them to break parts faster for extra carves. Reading the monster and concentrating fire on one area is how veteran hunters out-damage beginners by two or three times.
Your Support Cast
You are rarely alone. Your Palico heals, distracts, and can deploy traps, taking pressure off you during tight moments. Your Seikret mount is more than transport: it carries a second weapon you can swap to mid-hunt, and you can use it to reload or reposition without wasting stamina on manual climbing. A smart loadout pairs a fast weapon that opens Wounds with a heavy hitter that cashes them in, or a melee weapon with a ranged one for flying targets.
Early Crafting and Training Habits
In Low Rank, raw attack is king. After each monster unlock, craft the highest-attack weapon available to you, and build a full armor set from the latest monster you hunted rather than mixing pieces. Mismatched sets leave protection gaps. Upgrade armor at the Smithy even by a point or two; a fully upgraded previous tier often beats a fresh higher tier with zero upgrades.
Stock your Item Pouch with Potions, Antidotes, a Whetstone, Flash Pods, Sonic Bombs, and at least one Trap. Learn to craft Mega Potions early. Finally, actually train: spend twenty minutes in the area with a weapon before a real hunt. The monster will not wait for you to learn your controls, so learn them on dummies first. Do that, and any of the fourteen weapons becomes a path to a clean kill.
Reading the Monster and Using the Environment
No matter which weapon you choose, the hunt is won by reading the monster, not by mashing. Open your Hunter's Notes to check each foe's elemental weaknesses and the body part that breaks easiest, then aim your Wounds there. Watch for the limp that signals a capturable state: at that point a Pitfall or Shock Trap plus two Tranq Bombs ends the quest without the risk of a final desperate phase. Capturing also tends to grant extra materials, so it is often the smarter play.
Use the world to your advantage. Pop-up Camps let you resupply mid-hunt, and the Seikret ferries you across terrain so you save stamina for dodging. The dive evade, triggered while sprinting, gives a few seconds of invincibility and is your emergency button when the screen flashes red. Weather cycles matter too: gather during Plenty periods when the land is rich, and hunt aggressive targets during Fallow when they are already enraged anyway. Master these habits alongside your weapon, and every hunt gets shorter and safer.
Pick the Weapon for the Monster, Not for the Tier List
Beginner advice stops at "every weapon is viable," which is true and useless once you are trying to cut minutes off a hunt. The useful question is how long your longest committed animation is versus how long the monster stays in one place. That single comparison predicts almost everything about whether a weapon feels good against a given target.
| Monster archetype | Weapons that struggle | Weapons that thrive | Why |
|---|---|---|---|
| Fast, darting, small body | Great Sword, Heavy Bowgun | Sword and Shield, Dual Blades, Bow | Long wind-ups whiff against constant repositioning |
| Tall, head held high | Short-reach melee | Insect Glaive, Long Sword, Lance | You need vertical or length to reach the good hitzone |
| Aerial or hovering | Grounded melee without vertical tools | Bow, Light Bowgun, Insect Glaive | Uptime matters more than per-hit damage |
| Hard, armoured hide | Low-sharpness setups, rapid chip damage | Weapons that focus one part with high sharpness | Bouncing wastes openings and sharpness |
| Heavy charges and roars | Slow sheathing weapons | Lance, Gunlance, Charge Blade, Long Sword | Guard and counter turns punish into damage |
| Wide sweeping hitboxes | Weapons locked in long animations | Mobile weapons with quick sheathe | You need to leave before the arc reaches you |
Apply it as a rule: if you finish a hunt feeling like you spent it chasing, your weapon's commitment length is longer than the monster's stationary windows. Switching to a faster weapon, or to a ranged secondary, is usually a bigger upgrade than any armour change.
This is also the real argument for carrying two weapons. A fast opener that builds Wounds paired with a heavy hitter that cashes them handles both archetypes in one hunt, and a ranged option removes the worst case for a melee build: a target that refuses to land.
Sharpness: The Damage You Are Losing Without Noticing
Sharpness is not a maintenance chore, it is a multiplier. Each tier raises both raw and elemental output, and the gap between tiers is larger than most early armour decisions you will make. A hunter who sharpens on schedule routinely out-damages one with better gear and a dull edge.
The failure signal is bouncing. When your weapon is too dull for the part you are hitting, the attack rebounds, which costs extra sharpness and leaves you in a recovery animation in front of the monster. Two bounces in a row is a longer opening for the monster than almost any attack you could have landed.
Sharpen on the monster's schedule, not on yours. The safe windows are the same ones you already know: when it changes area, after a topple or a trap, while it is eating or asleep, and during a mount. Sharpening in the monster's face is the single most common way to turn a safe hunt into a cart. Keep faster-sharpening consumables in the pouch so the animation is short enough to fit inside a relocation rather than requiring its own window.
A measurable check: count your bounces per hunt. Zero is the target and it is achievable through timing alone, because bouncing is a scheduling failure rather than a gear failure. Bouncing in the first two minutes means you walked in dull.
Wound Priority: Which Part, and When to Spend It
Creating a Wound is only half the decision. You also choose which part to wound, and whether to spend the Wound on a Focus Strike or keep hitting it for the damage bonus.
| Your goal | Where to build the Wound | When to spend it |
|---|---|---|
| Fastest kill | The highest-damage hitzone from your Hunter's Notes | Hold it while the monster is toppled or trapped |
| Stopping a specific attack | The part that attack uses: head for bites, wings for flight, tail for sweeps | Pop it when that attack is about to happen |
| Material farming | The breakable part you need carves from | Hold it until the part breaks |
| Severing a tail | The tail, with a cutting weapon | Only while the monster is downed; blunt and shots will not sever |
The holding-versus-popping rule is simple once stated. If the monster is already immobilised by a topple, a trap, or a status, keep attacking the Wound for its damage bonus; a Focus Strike would trade real damage for a knockdown you already have. If the monster is mobile, dangerous, or heading for the next area, pop it for the interruption and the free window.
The most common mistake is spreading Wounds. Two half-built Wounds on different legs produce nothing; one finished Wound on the correct hitzone produces damage now and a topple later. Every time you reposition, re-aim with Focus Mode at the same part you started on instead of hitting whatever is closest.
Failure Modes, Fixes, and Two Drills You Can Time
| Symptom | Why it happens | The fix |
|---|---|---|
| You cart to the same attack every time | You roll on the wind-up, and you roll away instead of through | Watch the swing, roll late, roll toward the body |
| You never form Wounds | Your hits scatter across parts as the monster moves | Pick one hitzone and re-aim at it after every reposition |
| You run out of sharpness mid-fight | You only sharpen after bouncing | Sharpen during area changes and after topples |
| Captures keep failing | Tranqing before the trap, or trapping before the monster is weak | Wait for the limp and the weak indicator, place the trap, then tranq |
| Hunt times stay long despite good gear | Too much downtime healing and walking | Cut one reposition per hunt by fighting where the monster comes to you |
Two drills make progress measurable. First, the opening timer: from first contact, record how long until your first Wound forms, run the same monster five times, and try to halve your starting number. That one figure captures aim discipline, uptime, and hitzone knowledge at once. Second, the zero-bounce run: finish a hunt without a single bounce by sharpening on the monster's schedule. When both are comfortable, raise the difficulty of the target rather than the quality of your gear, because the drills test decisions, not equipment.
🔥 Topics
Mobile Legends Season 41: Scarlet Embers Meta and S-Tier Heroes
Next →Rocket League Ranked Climb: Rotation, Boost and the 2026 Rule Changes