 Indie
IndieSilksong Combat: Dash-Cancel Loops and Crest Choices
Hornet Moves Differently
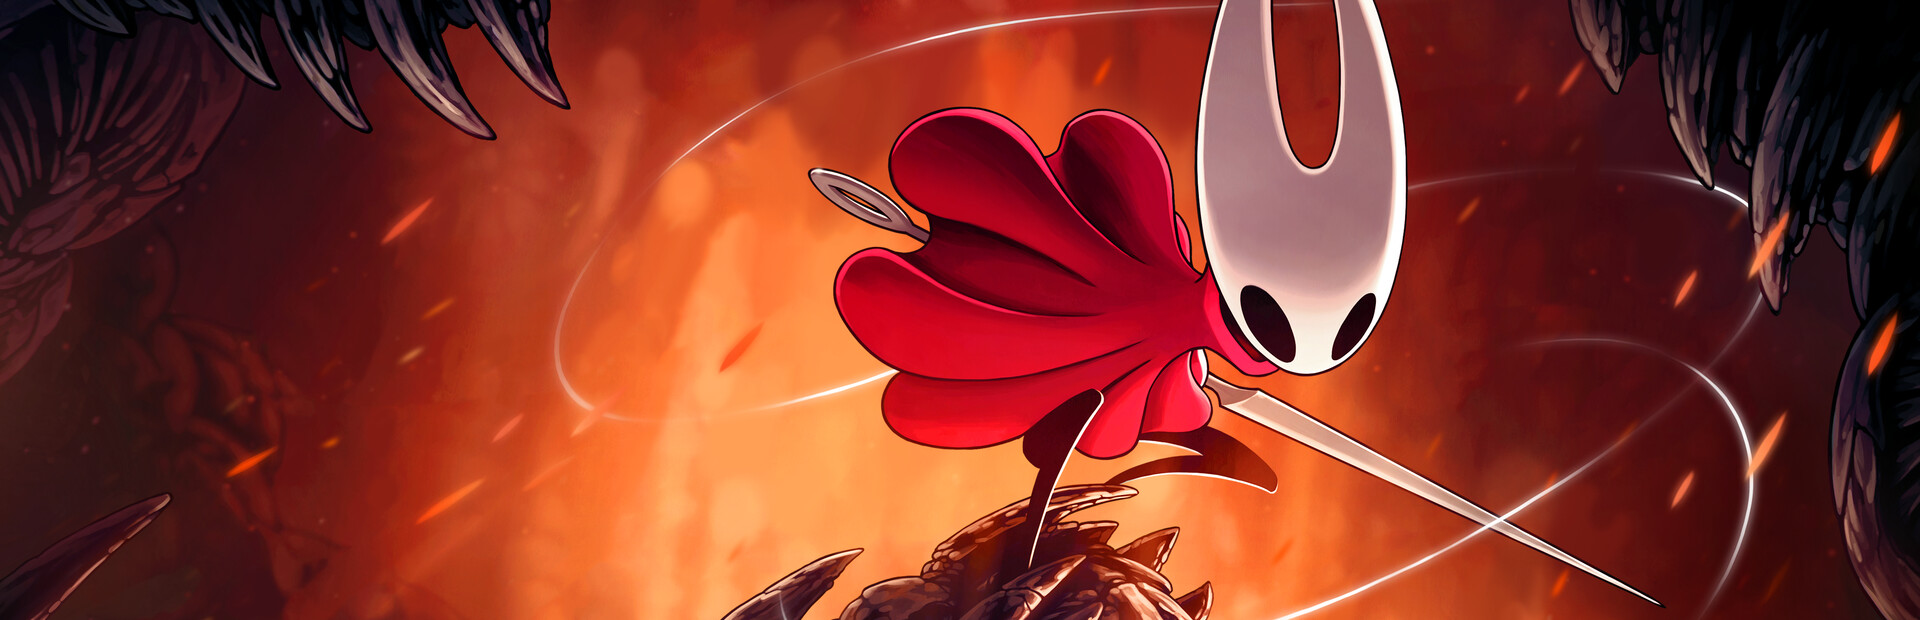
The first thing to internalize about Silksong is that Hornet is not the Knight with a new skin. She is faster, more acrobatic, and built for aggression. Where the original game rewarded patient spacing, Silksong rewards forward pressure: getting close builds your Silk gauge faster, and Silk is what fuels both your healing and your strongest attacks. Playing scared drains your resources and your momentum.
That speed is a double-edged needle, though. Hornet's dash and pogo (bouncing off enemies and hazards with a downward strike) let you stay mobile in ways the Knight never could, but they also tempt greedy strings that end in a hit. The skill ceiling comes from chaining those moves cleanly, not from mashing. Everything below builds on one principle: stay in motion, land safe hits, and never overextend.
The Dash-Cancel Loop
The single most important technique is the dash cancel. A normal attack has recovery frames at the end where Hornet is committed and vulnerable; pressing dash during that recovery cancels the animation early, letting you reposition or throw a follow-up strike without the lag. Mastering this is what separates clean fights from traded blows.
A reliable basic loop looks like this: land two safe hits, dash-cancel the recovery, pogo off the enemy or a nearby hazard to reset position, then back off before they can counter. Repeat in rhythm. The two-hit discipline matters — landing a third greedy hit is exactly when most bosses punish you. You can also cancel a pogo's upward bounce with an immediate dash to stay low and keep rapid bounces going, which is devastating against grounded foes. Pair this with the downward dash (Swift Step) once unlocked to snap to the ground and chain strikes. One caveat worth repeating: your dash has no invincibility frames, so never trust it to phase through a hit — dodge into a real opening instead.
Silk Economy and the Bind Heal
Silk is your lifeblood. Filling the Silk bar by dealing damage lets you perform a Bind heal, which instantly restores up to three masks — but only when the bar is full, so spend Silk deliberately. Mid-air heals are safer than grounding yourself in a crowd; pogo an enemy, then begin Binding while airborne for a free heal window.
Treat Silk as a budget you manage per fight. Use offensive Silk skills like Silkspear (a ranged thrust) or Straight Pin (a quick throw) to stagger a boss and create a guaranteed safe window to heal, rather than burning them for chip damage. And remember the cocoon: after death your silk cocoon marks where you fell, and breaking it mid-run refills Silk — so leave it intact before a hard attempt and reclaim it to resupply. Managing that bar calmly is the difference between a clean run and a panic death.

Tools, the Needle, and Why Red Beats Spells
Beyond crests, your tools and needle shape every fight. Early on, red tools such as Clawline (a grapple you can fire at enemies to pull in and start an aerial combo) and Scuttle Brace outperform spells in most encounters — they are safer, faster, and deal consistent damage without leaving you exposed. Save your Silk for those and weave them into your dash-cancel rhythm.
Your needle is the backbone of your damage, and it is upgradeable. Once you liberate Bellhart, seek the Pinmaster and spend Pale Oil to sharpen it; each tier noticeably raises your damage and lets you clear earlier rooms you once avoided. Revisit old zones after an upgrade to scoop up secrets and shell shards you could not reach before. The lesson: invest in the needle before chasing flashy charms.
Choosing a Crest
Crests redefine Hornet's moveset and tools, so your pick should match how you want to fight. Three early options cover most playstyles:
| Crest | Flavor | Best for |
|---|---|---|
| Wanderer | Faster attacks and higher DPS | Aggressive players who pressure relentlessly |
| Beast | Heavy, hit-twice moves and raw output | Trading blows and breaking guards |
| Hunter | Balanced, reliable pogo setups | Reading patterns and safe, methodical play |
There is no wrong answer — crests are swappable, and many players keep a mobility or sustain option equipped early while they learn. A common trap is stacking two damage crests and turning greedy; swapping one for a sustain or mobility boost tends to double boss consistency. The Hunter's Crest in particular enables a sprint-attack-to-basic combo cancel for burst, while the Reaper Crest (found later in Greymore) widens your downward slash and drops Silk orbs after healing.

Bosses: Learn the Startup
Silksong is reported to span roughly 43 bosses across its three acts, a staggering roster that runs from the early Moss Mother through mid-game fights like Lace and the Last Judge, toward late threats such as Grand Mother Silk and the Lost Lace confrontation. You will not memorize all of them, and you should not try.
The method that works is a three-pass approach. Pass 1 — observe: dodge only, count the moves per cycle, and note which attacks leave long recovery. Pass 2 — safe punish: equip a defensive loadout and strike only after the two slowest, most obvious whiffs; heal once per cycle. Pass 3 — commit: add one damage or mobility charm and push during forced downtime. Above all, learn each boss's startup animations — the wind-ups and tells that precede every attack. Dodging into the opening is how you survive the Duelist-type bosses that fight like you do, and how you weather the Large Brute types whose slow swings still delete your health.

A Basic Combat Checklist
Keep these habits until they are automatic:
- Land two hits, then dash-cancel — never a third greedy strike.
- Pogo to reposition and build Silk; cancel the bounce with a dash to stay low.
- Fill Silk, then Bind heal in the air, not in a crowd.
- Pick a crest that fits your style; pair one mobility with one sustain early.
- On a new boss, observe first — dodge, do not trade, for at least two cycles.
- Use benches to map routes, but scan before sitting; some benches are trapped.
- Upgrade the needle at the Pinmaster with Pale Oil as soon as Bellhart is freed.
Silksong rewards rhythm over reflexes. Build the dash-cancel loop, respect the Silk economy, and read the startup of every new foe — and Pharloom's difficulty walls become puzzles you can solve.
Tool Economics: Budgeting Charges Between Benches
Carried tools are not a permanent part of Hornet's kit. They are finite reserves that you replenish at rest points, generally paying crafting materials to do so, which reframes every corridor before a boss. Each charge spent clearing enemies you already read cleanly is a charge you will not have in the arena, and because a hard boss usually takes several attempts, a comfortable exploration belt can quietly become an empty one exactly when it matters most.
Split your offensive tools into three tiers rather than one pool. Use the needle alone for ordinary traversals, keeping tool use at zero wherever the enemies are ones you can already dance around. Spend one or two charges against enemies that would otherwise cost you masks, since health is the currency you genuinely care about protecting. Reserve the bulk of your charges for anything with a substantial health bar and a habit of punishing hesitation.
| Segment | Tool allowance | Reason |
|---|---|---|
| Already-solved corridor | Zero | You can clear it with the needle and gain nothing |
| New or unfamiliar room | One, aimed at the nastiest enemy | Buys information and protects health |
| Gauntlet immediately before a bench | Anything that shortens it safely | The bench refills you anyway |
| The walk from bench to a boss door | None, if you can avoid it | Arriving with a full belt is worth more than a fast trip |
| Boss attempts | Everything you have | The attempt on which you finally hold back is usually the one that was winnable |
The self-check is short. If you habitually reach a bench with tools unused, you were too conservative and your clear pace is suffering for nothing. If you reach a boss with an empty belt, you spent your resources on scenery.
Layer Control: Ground, Air, and Wall Are Three Different Weapons
Most players treat positioning as a horizontal question and consequently die to attacks that were never horizontal problems. Hornet has three usable layers — the floor, the air above the enemy, and the walls or ceiling to the sides — and the interesting decision is not where to stand but which layer you are about to be punished on.
The working rule is to change layers exactly once per attack cycle. Move up to punish a low sweep, drop to punish an upward swing, or cross under a lunge, then stop. A second layer change inside the same recovery window tends to land you precisely where the enemy's next option already covers, because follow-ups are usually designed to catch the obvious escape from the first attack.
Enemies with rising or anti-air attacks punish prolonged hovering, so against those you want to stay low and use the dash to cross behind them rather than jump over them. Wide sweepers are the opposite: their recovery is long and their hitbox rarely covers the air above them, which is the ideal moment for a descending strike. Anything that lunges horizontally rewards crossing through or over it and then immediately reclaiming the space it just vacated.
| Enemy behaviour | Winning layer | When to leave it |
|---|---|---|
| Wide horizontal sweeps | Directly overhead, dropping during recovery | Before the sweep begins, not during it |
| Forward lunges | Ground, then cross behind them | Immediately after they commit |
| Projectiles or zoning patterns | Mid-air, closing distance rather than hovering | When you are trading space for health |
| Rising or anti-air attacks | Stay grounded and dash through | Never contest them vertically |
| Fast aerial swarmers | Wall or ceiling, then pick exactly one | When more than one can reach you |
Three Deaths You Keep Repeating and the Actual Fix
| What happens | Why it happens | The fix |
|---|---|---|
| You die mid-heal | You started the heal after an attack was already travelling toward you, so the wind-up ate the hit | Heal only inside a window you created yourself — after a stagger, or from the apex of a pogo — never as a reaction to taking damage |
| You whiff your punish and eat the counterattack | You were already deep in your own attack chain, so your remaining recovery outlasted their recovery | Return to neutral with a single strike before committing anything larger; a landed two-hit punish beats a traded four-hit one |
| Silk is empty exactly when you need it | You spent offensive Silk during the part of the fight you had not yet learned | Bank Silk through learning attempts and spend it only on guaranteed staggers; treat the first full bar as insurance rather than ammunition |
| You die entering a new zone | You arrived carrying tool debt and the rhythm of your last attempt instead of resetting first | Top up at the preceding rest point, then clear the first room deliberately to rebuild momentum before pushing deeper |
The common thread is that all four are scheduling failures rather than mechanical ones. Every one of them is solved by deciding earlier, not by reacting faster.
A Scorable Drill for the Loop
Pick one repeatable non-boss encounter you can reach quickly from a bench — ideally two or three medium enemies in sequence rather than a single target — and treat it as your training ground. Run it five times, recording three numbers per attempt: hits taken, how often you started a third consecutive attack, and elapsed time.
Then add one constraint per attempt. Attempt two allows no tool use at all. Attempt three restricts you to ground-based attacks, forcing you to solve spacing without pogo resets. Attempt four forbids spending Silk, which makes you rely on positioning instead of buying staggers. Attempt five stacks all of the previous restrictions together. The aim is not a fast time; it is driving hits-taken to zero under every constraint, because a clean run with no resources available is the skill that actually transfers to boss arenas.
A second drill targets healing discipline. Re-run the same encounter allowing yourself exactly one heal, then try to finish with zero. Players who cannot usually heal reactively rather than inside a planned window, and that habit is what gets them killed next to a staggered enemy.
Write the five results down instead of estimating them mentally. The difference between feeling competent and knowing you took one hit on attempt three and none elsewhere is the difference between playing and practising.
🔥 Topics
Marvel Rivals: Hero Roster Guide — Roles, Abilities and Playstyles
Next →VALORANT Season 26 Act 3 Agent Tier List