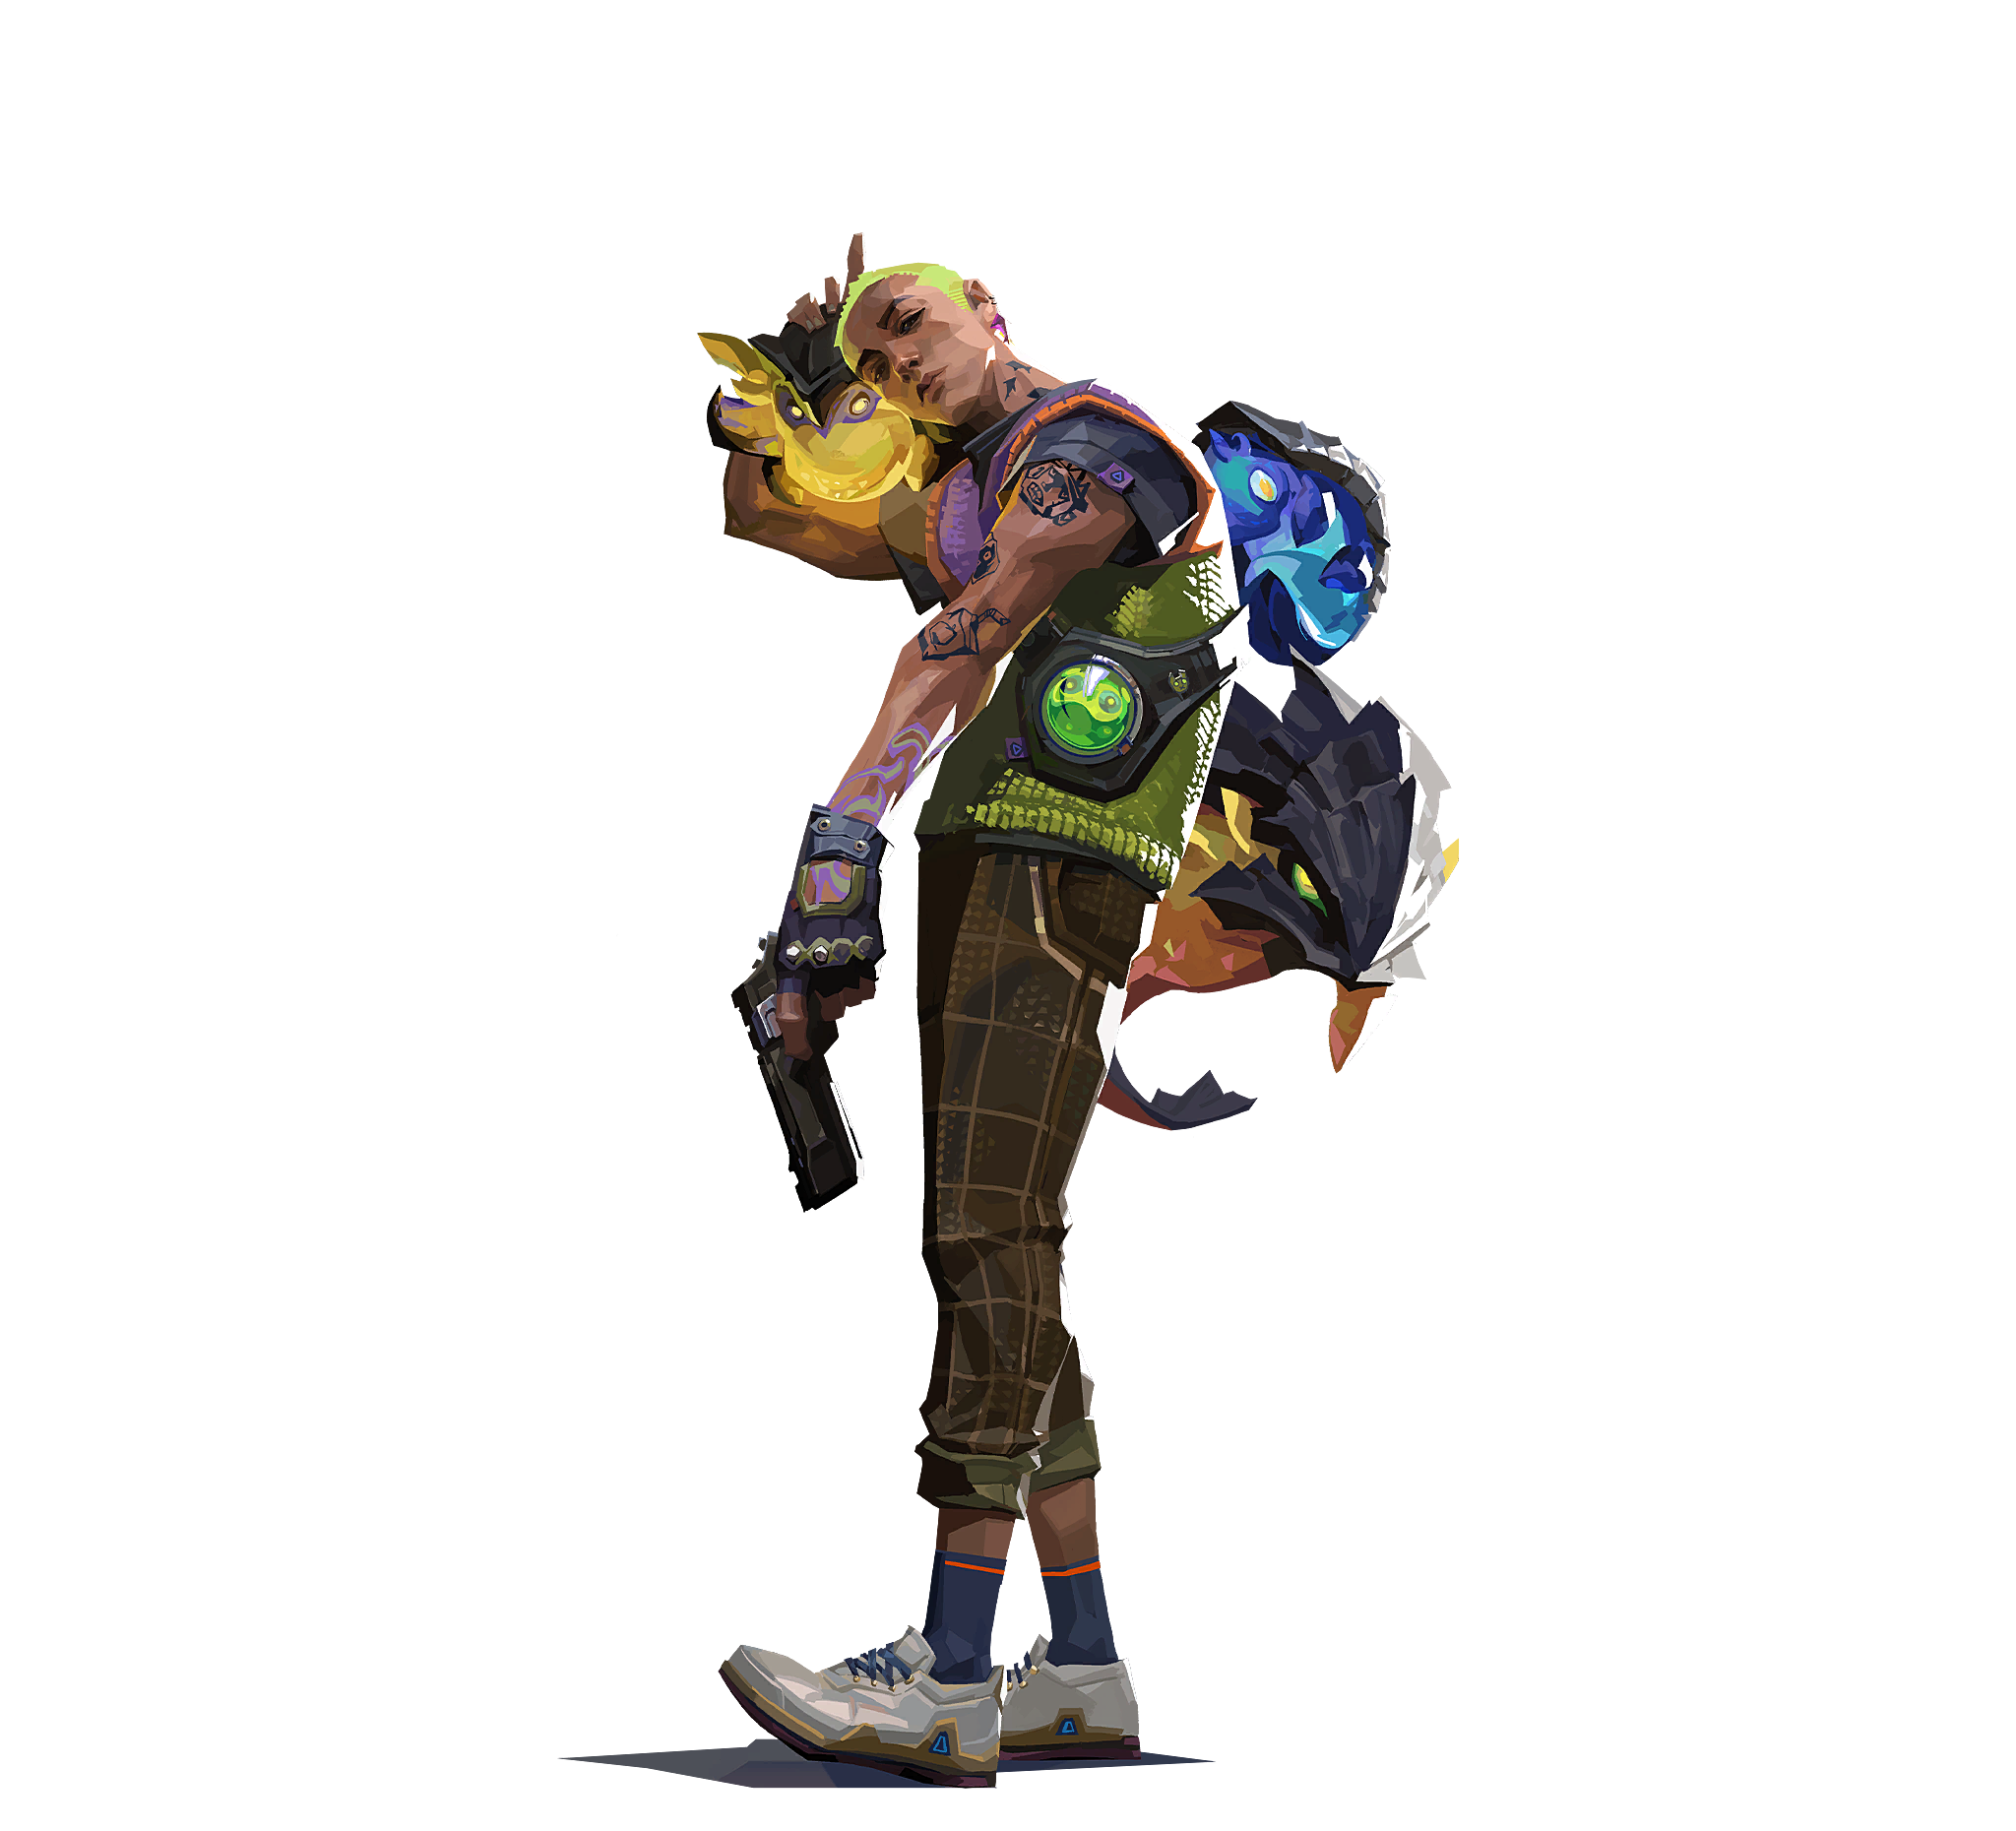
 FPS / Shooter
VALORANT Season 26 Act 3 Agent Tier List
What You Should Be Able to Do After Reading This
By the end of this article you should be able to do three concrete things inside the twenty seconds of agent select. First, look at the map, look at the four agents your team has locked, and name the functional gap that is still open — not "we need a duelist," but "we have no way to cross the open ground into B without a smoke, and we have no way to clear the close left corner once we are in." Second, look at the scoreboard on round nine and say with reasonable confidence which enemy ultimates are live, which are one orb away, and therefore how much space you can take this round. Third, explain why an agent who is dominant in professional play is mediocre in your ranked lobby, and stop copying pro drafts for that reason.
The wrong mental model is that a tier list is a fixed ranking of characters measured in a vacuum, and that the correct play is to lock whatever sits in S. Published lists reinforce it: one ladder, no map labels, no rank labels, no conditions. That model fails in practice because agent value in VALORANT is produced on three independent axes, and only one of them is the agent's own kit. Those axes are role function (what the team physically cannot do without you), map fit (whether the geometry rewards or punishes your specific tools), and operator floor (how much of your value survives being played by a human who is nervous on round twenty-four). A tier list is a hypothesis about how a map plays at a given skill level with a given patch. It is not a shopping list, and the moment you treat it as one you will lock an S-tier controller you have six hours on and lose the two smokes that decide the half.
The second wrong model is subtler and more expensive: that balance is static. Riot ships balance changes on a cadence measured in weeks, not seasons, and an act boundary is a natural moment for a larger pass. Rankings shift between patches for reasons unrelated to player skill: a duration change, an ultimate cost change, a credit price change. Anything you read here should be treated as a method for re-deriving the answer, not the answer itself.
Two Currencies, One Round: Where Agent Value Comes From
Every VALORANT round is arbitrated by two currencies that do not convert into one another: credits and ultimate points. Understanding both is the difference between picking an agent because a tier list says so and picking an agent because you know what the round needs.
The credit system is deliberately anti-snowball. Everyone starts a half with 800 credits on the pistol. A win pays 3000. A loss pays on a three-step ladder — roughly 1900 for a single loss, then about 2400, then about 2900 once you have dropped consecutive rounds — which means a team that is being beaten accumulates faster until it can buy again. Each kill is worth about 200 credits. The wallet caps at 9000, so a rich team cannot bank indefinitely. The practical consequence is the buy-cycle rhythm every player learns by feel: full buy, save if you lose, force when you must, and roughly one round per half where buying nothing at all is correct.
Abilities interact with credits in a way most players never make explicit. Purchasable abilities are bought during the buy phase, are consumed on use, cap at two held charges each, and — this is the part people forget — carry over between rounds. An unused smoke at the end of round six is not wasted money; it is a 300-credit asset sitting in your pocket in round seven. Signature abilities are free and return on their own, either at the start of each round or on a cooldown depending on the agent. This is the single mechanic that makes certain agents economy-proof: an agent whose value is carried by a signature ability still functions on a 2000-credit buy, while an agent whose value is carried by two purchased flashes is a liability on the same round. When you are choosing between two agents of the same role, ask which one still does its job when the team is poor. That question answers more tier-list arguments than any win-rate chart.
The ultimate system is the second currency, and it is the one that actually makes tier lists map-dependent. Ultimate points come overwhelmingly from ultimate orbs: small pickups worth one point each that spawn at fixed positions at the start of every round, usually two or three per map depending on layout. Two consequences follow directly. The first is that ultimate charge is a map-control objective, not a reward for fragging. Denying enemy orbs is worth about as much as collecting your own, and a team that loses mid control for four straight rounds silently hands over four ultimates. The second is that charge is sticky: unspent points persist across rounds and across the half. Being one point short on round eight means being one point short on round twelve, which is why a lost round is often best spent on a cheap push toward an orb rather than a passive save.
Because the whole team draws on the same two or three orbs per round, realistic team income is on the order of two or three points per round. That is why ultimates arrive every few rounds rather than every round, and why a team that wins orb control for five straight rounds can suddenly find itself holding three ultimates simultaneously while the opponent has none. This is also why ultimate cost is the most underrated number on an agent's card: cost is literally the number of rounds of patience an ability demands.
Ultimate Costs and What Each One Buys
Costs below are the long-standing values; Riot has retuned individual ultimates occasionally, so treat anything marked with an approximation sign as "roughly" rather than exact, and confirm in the client if a specific number is going to decide a decision for you. The agents added most recently are omitted deliberately rather than guessed at.
| Agent | Ultimate | Cost (points) | What the cost is buying |
|---|---|---|---|
| Phoenix | Run It Back | 6 | A free life and a free info swing every two-ish rounds |
| Reyna | Empress | 6 | Sustained entry pressure; scales with how many fights you win |
| Jett | Blade Storm | 7 | A precision weapon that ignores economy |
| Breach | Rolling Thunder | 7 | A stun through walls that converts a site without a fight |
| Omen | From the Shadows | 7 | A teleport plus a global fake that pulls a rotation |
| Cypher | Neural Theft | 7 | Full enemy positions on two corpses' worth of information |
| Chamber | Tour de Force | 7 | A slow Operator and a body-blocking tripwire |
| Brimstone | Orbital Strike | 8 | Area denial that clears a plant or a defuse on a timer |
| Sage | Resurrection | 8 | A fifth player, but only if the body is recoverable |
| Raze | Showstopper | ≈8 | A room-clearer that punishes stacked retakes |
| Sova | Hunter's Fury | ≈8 | Three wallbang shots that win a retake from safety |
| Skye | Seekers | ≈8 | Three-way information that also clears corners |
| Fade | Nightfall | ≈8 | Deafened enemies plus a trail, best on wide sites |
| KAY/O | NULL/cmd | ≈8 | Suppression that turns a site hold into a duel |
| Gekko | Thrash | ≈8 | A reusable plant and defuse tool with a detain |
| Viper | Viper's Pit | ≈8 | A whole region of the map for as long as fuel lasts |
| Harbor | Reckoning | ≈8 | A wide stun field for retake denial |
| Killjoy | Lockdown | ≈8 | An un-defusable timer on a planted site |
| Neon | Overdrive | ≈7 | Speed plus accuracy, an economy-free entry |
| Astra | Cosmic Divide | ≈7 | A global wall that splits a site in half |
| Yoru | Dimensional Drift | ≈8 | Information gathering with a survivable exit |
| Iso | Kill Contract | ≈8 | A forced one-versus-one that removes a defender |
| Clove | Not Dead Yet | ≈8 | Self-sufficiency that makes a controller survivable |
| Deadlock | Annihilation | ≈8 | A post-plant catch that punishes the retake path |
| Tejo | Ultimate | ≈8 | Area damage that clears a stack or a plant |
| Vyse | Ultimate | ≈8 | Lockdown geometry that stalls a site |
Read the table as a budget, not a ranking. The gap between a six-cost and an eight-cost ultimate is roughly two orbs, which at realistic income is the difference between having it on the eco round and having it a round later. That is why cheap-ultimate duelists stay pickable even when their raw kits are outclassed.

Three Scenarios, Step by Step
Scenario One: First Pick on Ascent With a Four-Stack
You are first pick in a lobby with four teammates who have not locked. Ascent is a three-lane map with a large central courtyard flanked by an elevated catwalk on one side and a market on the other, plus two long site approaches with breakable doors in the middle of the map. Take these steps in this order.
One: identify the map's hard requirement. Ascent's mid control decides the round because it unlocks both sites, so a controller who can smoke mid is non-negotiable. Two: check which controllers your stack has actually played, not which is highest on the ladder. A controller played badly is worse than a second initiator, because the smokes land late or in the wrong place and the take fails anyway. Three: lock the controller yourself if nobody else has more than twenty hours on one. Do not leave the most mechanically punishing role to the least experienced player. Four: after locking, look at what remains. If your stack has two duelists, do not add a third; add an initiator with a reveal, because the most common Ascent failure is a team that enters a site and dies to a player standing in a corner nobody cleared. Five: if the enemy has locked two sentinels, shift one duelist slot toward a flash-heavy initiator, because double-sentinel defences die to information and flashes rather than to raw aim. Six: once the enemy is revealed, do a final check on ultimate tempo. If the enemy has three cheap ultimates live and you have none, plan a slow round and play for orb denial rather than an execute.
Scenario Two: Answering a Double-Controller Defence
The enemy is defending with two controllers — a smoke agent and a wall or fuel agent — on a map with wide lanes. Their plan is to make one site un-enterable and force you into the other, where they stack.
Step one: do not attack their strong site to "prove" you can. Step two: identify the site they have NOT doubled, and route your default there for the first three rounds; you want them to spend their wall and fuel early defending a site you never commit to. Step three: pick an initiator with a scan or a reveal rather than a second duelist. Double-controller defences are not beaten by better gunfights, they are beaten by knowing which side of the smoke the player is standing on. Step four: on rounds where you do execute, execute on the second controller's cooldown, not on your own convenience — if their wall comes back once per round and their fuel takes time to refill, there is a window. Step five: when you finally take site control, do not plant in the open. A double-controller team will retake through the same smokes they used to defend, and your post-plant crossfires need to be set up on the retake path, not on the site. Step six: track their ultimates explicitly. Two controllers means two area-denial ultimates that both punish a plant, so your plant timing should be late enough that they have already committed one.
Scenario Three: Banking Ultimates Through an Eco and Anti-Eco Cycle
You have lost the pistol and the following round. Your team has roughly 2000 credits each and a scattered set of ultimate counts.
Step one: agree on a save, out loud, before the buy timer expires. Half-saves are the most common economy error in ranked play. Step two: on the save round, do not buy abilities you will not use; a purchased flash you die holding is money converted into nothing. Step three: take the save round's single objective seriously — get the plant if you can cheaply, or take one orb. The plant does not pay you credits directly in VALORANT the way it does in Counter-Strike; its value is that it forces a retake, burns defender utility, and puts your loss bonus one step higher. Step four: win the anti-eco by playing crossfires rather than by hunting. The enemy has pistols or cheap guns; the only way you lose that round is by giving up five separate one-versus-one fights. Step five: collect orbs greedily on the anti-eco, because this is the round where the enemy cannot contest them. Step six: on the following full-buy round, check your team's ultimate count before you call anything. If three of you are live, spend all three on one site and win it outright; if only one is live, play a default and use that ultimate to win the mid fight rather than the site.
Role-by-Role Comparison
| Role | Representative agents | What the role actually supplies | Typical ult cost band | Skill floor | Map sensitivity |
|---|---|---|---|---|---|
| Duelist | Jett, Reyna, Raze, Phoenix, Neon, Yoru, Iso | Converts space into a first kill; absorbs the entry risk | 6 to 8 | Low at entry, high at value | Low |
| Initiator | Sova, Breach, Skye, Fade, KAY/O, Gekko, Tejo | Removes the information asymmetry before the gunfight | 7 to 8 | Medium | High |
| Controller | Brimstone, Omen, Viper, Astra, Harbor, Clove | Decides which sightlines exist for the next fifteen seconds | 7 to 8 | High on placement | Very high |
| Sentinel | Cypher, Killjoy, Sage, Chamber, Deadlock, Vyse | Holds ground alone so four players can go elsewhere | 7 to 8 | Medium | High |
| Flex hybrids | Skye, Clove, Gekko, Chamber | Cover two roles when the draft is thin | 7 to 8 | High | Medium |
The map sensitivity column is what should change how you read any tier list. A duelist's value barely moves between maps; a controller's swings enormously, because whether your smoke covers one lane or two is a property of the geometry you are standing in, not of the agent. "Best controller" is a nonsense question; "best controller here, with this team" is a real one.

Where Tier Lists Stop Working
The first failure mode is rank band inversion. Agents whose value is delivered through coordination — a Breach stun that lands because four players are standing on the same pixel, a Sova dart that matters because someone is holding the angle it reveals — are systematically weaker in solo queue than in a five-stack. Agents whose value is self-contained — a Reyna who heals off her own kill, a Clove who smokes after dying, a Chamber who takes a duel and leaves — are systematically stronger. The same agent can legitimately be S-tier in organised play and B-tier at your rank, and both statements are true at once. If a tier list does not tell you which rank band it is describing, it is describing none of them.
The second failure mode is pretending map-dependency away. Controllers rotate in and out of favour by map for pure geometry reasons: wide lanes favour walls and fuel, tight corridors favour precise single-target smokes, and maps with long sightlines reward controllers who can smoke at range without exposing themselves. Sentinels follow a similar pattern.
The third failure mode is drafting for an ultimate rather than for a round. An agent with a spectacular ultimate and a weak basic kit is a liability for eleven rounds and a miracle on the twelfth. This is acceptable in organised play, where the team can play eleven low-value rounds deliberately to set up the twelfth. It is usually not acceptable in ranked, where your team will take five random fights per round and arrive at the ultimate round with three players dead.
The fourth is treating the patch as a constant. Riot adjusts durations, credit costs and ultimate costs on a cadence that gives any frozen ordering a shelf life of weeks. The skill worth having is not knowing the current ordering but noticing, within days of a change, which agents got better and why.
Common Mistakes and the Specific Correction
| Mistake | Why it fails | The specific correction |
|---|---|---|
| Locking the S-tier agent you have six hours on | The agent's value is in the timing of the ability, not the existence of it | Play your best agent in your weakest role before playing a weak agent in your best role |
| Holding an ultimate for the perfect moment | A sticky resource held through two lost rounds is a resource that never got spent | If you are within one point of an ultimate and the round is lost, take the orb |
| Buying abilities you do not use on a save round | Purchased abilities do not refund and do not carry value if you die | On save rounds buy nothing but armour and one utility piece you have a named use for |
| Adding a third duelist because nobody entry-frags | Entry failures are usually information failures, not aim failures | Add an initiator with a reveal; the entry frag will follow |
| Picking a controller nobody on the team can play | A late or misplaced smoke is worse than no smoke | Put your most disciplined player on controller, regardless of role preference |
| Ignoring orb control entirely | Orbs are the entire ultimate income for both teams | Make one orb per round a called objective, not an accident |
| Copying a professional draft in solo queue | Pro drafts assume coordination you do not have | Copy the role shape, not the exact agents |
A Four-Week Plan to Build a Real Pool, and How to A/B Test It
Week one: choose exactly two agents, both in one role, and play nothing else. The goal is not to win more games this week; it is to stop thinking about your abilities so that you can think about the round. Play fifteen to twenty games and write down, after each loss, whether you died with utility unspent.
Week two: add one flex agent in a second role your mains do not cover, then keep playing the mains. Track one number: the round in which you first used your ultimate. If it is consistently after round ten, you are holding too long.
Week three: run the A/B properly. Pick the decision you are actually unsure about — which of two controllers to main, or whether to fill initiator or duelist on a given map. Play ten games on option A and ten on option B, on the same map pool, then compare. The metric is not kills per round. It is first-death rate and win rate, in that order of importance, because a duelist who dies first at a high rate is losing rounds regardless of how many kills follow.
Week four: add the map dimension. Choose one map where you play a different agent than your default, justifying it in one sentence. If you cannot write the sentence, revert.
Self-diagnosis questions for every week: Do I die before spending my utility? Do I know the enemy's ultimate count at the start of each round? Do I have a named reason for my pick that is not "the tier list said so"? If any answer is no, the fix is not a new agent — it is a new habit.

Closing Synthesis
Agent strength in VALORANT is not a property of the agent. It is a property of the agent, the map, the patch, the rank band and the human operating it, and the first four of those change while you are learning the fifth. What is stable is the machinery underneath: the credit system is anti-snowball, abilities carry over between rounds, signature abilities make some agents economy-proof, ultimate points come from contested map objects, and ultimate cost tells you how many rounds of patience an ability demands. Learn that machinery and you can regenerate any tier list yourself in ten minutes of patch notes plus twenty games of observation. Everything published as a fixed ladder is a snapshot of a moving object, and the players who improve fastest are the ones who stopped treating snapshots as instructions and started reading the machine.
🏷️ Related Tags
🔥 Topics
Silksong Combat: Dash-Cancel Loops and Crest Choices
Next →DOTA 2 Heroes: 128 Heroes, Four Attributes, Where New Players Start
More “VALORANT” Content
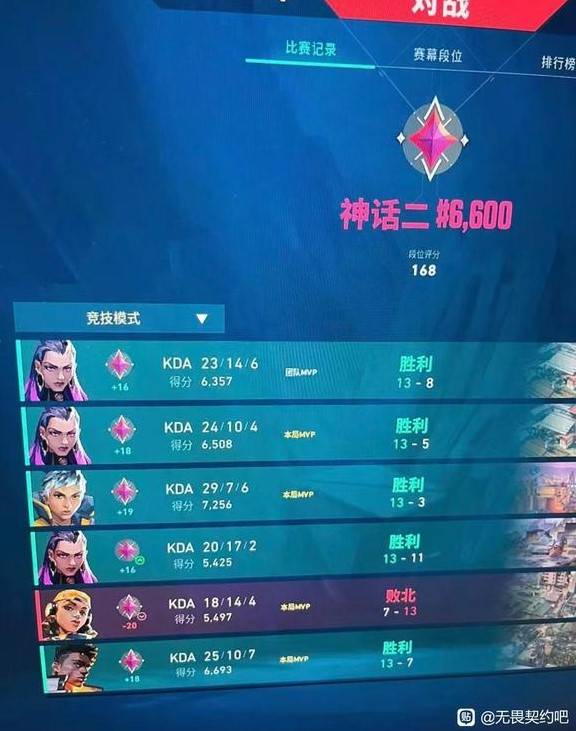 FPS / Shooter
VALORANT: Climbing Out of Silver — Crosshair, Sensitivity and Mindset
A Silver-to-Ascendant player's full setup and ranked philosophy: a single-dot crosshair, 800 DPI at 0.27 sens, and the economy, agent-pool and minimap habits that actually decide your rank.
 FPS / Shooter
Ascent Smoke and Flash Handbook: Three Ways to Take Mid Control
On Ascent, the team that controls mid controls the round. Learn why mid matters, a clean A Main smoke-and-flash set, and three ways to play the space.
 FPS / Shooter
VALORANT Crosshair and Settings: Finding Your Aim Profile
The actual maths behind VALORANT sensitivity — counts per degree, the cm-per-360 formula, eDPI bands and how resolution stretching changes perceived speed — plus crosshair parameter ranges and a real A/B protocol. Includes three build walkthroughs and the diagnostic table that tells you whether your misses are a settings problem or a crosshair-placement problem.