 Open World
Echoes of Wisdom Puzzle Method: Think Objects First, Abilities Second
Stop Thinking Link, Start Thinking Objects
Echoes of Wisdom is the first mainline Zelda where Princess Zelda is the lead, and the puzzles are built around her, not around a sword. The core verbs are echoing (copying objects and monsters with Tri's staff), binding (moving things), and a brief Swordfighter Form for direct hits. If you approach a room looking for the right attack, you will stall. The right habit is to look at the room's objects first and its combat second.
The reason this works is budget. Every echo costs Echo power, and early in the game Tri only has three power to spend — enough for three one-cost echoes, or a two-cost plus a one-cost. You cannot spam summons, so the puzzle is really a small optimization problem: what is the cheapest combination of copied things that solves the obstacle in front of you? Train that instinct and almost every stuck screen opens up. Remember that the same echo can serve several rooms, so learning an object's full range of uses matters more than collecting a long list of one-trick copies.
The Three-Step Puzzle Method
When a room will not yield, run this loop instead of mashing echoes:
- List what you can copy. Scan the room for echoable objects and any monster you have already learned. Write a mental shortlist: boxes, beds, water, planks, pots, anything interactive.
- Identify the actual obstacle. Is it height (a ledge you cannot reach), a gap (a pit you cannot cross), a hazard (lava or spikes), or an enemy (something that must die)? Name it precisely — most failures come from solving the wrong problem.
- Solve with the cheapest combo. Pick the lowest-cost echo that addresses that one obstacle. A single wooden box is often enough for height; a bed can bridge a gap; a water block lets you float or cross a hazard. Resist the urge to over-build.
The discipline is to test one echo at a time so you can see what actually changed. If nothing obvious works, re-read the Notebook description of your echoes — Nintendo hides the intended use in plain text there — and come back after you have learned a new tool. The goal is never to find one perfect echo for the whole game, but to keep a small, flexible toolbox and swap tools as each room changes.
A Lineup of Reliable Echoes
Keep a small, varied set of go-to echoes favorited so they are never buried in a long list. A few pull their weight in countless rooms:
| Echo | Why it earns a slot | Typical use |
|---|---|---|
| Wooden Box | Cheap, stackable, solid | Build stairs or platforms for height |
| Bed | Bridges gaps when placed edge to edge | Cross pits and lava |
| Water Block | Floats Zelda and fills hazards | Reach ledges, cross spikes safely |
| Monster Echo | Fights for you | Handle combat so you stay safe |
| Strandtula / rope echo | Creates climbable strands to ceilings | Reach high chests and platforms |
The point is variety, not volume. A box solves height, a bed solves gaps, water solves hazards, and a monster solves threats — with those four categories covered you can face most rooms. Mark dependable echoes as favorites and sort by recent or cost so the right tool is one click away. As Tri's power grows through the story, you can afford richer combinations, but the habit of covering each category stays the same.
Tri's Bind: Your Second Pair of Hands
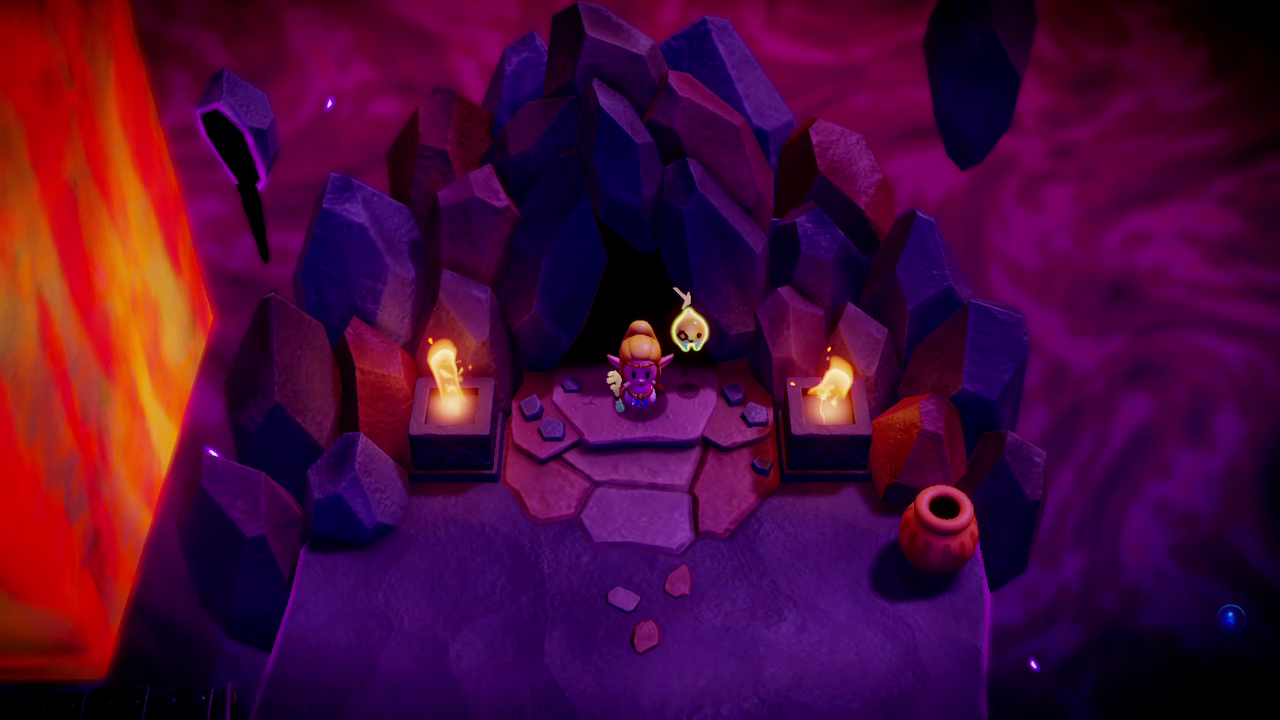
Bind is unlocked in the first dungeon and is the most underused tool in the game. Hold the Bind button (X or ZL) while facing an object and Tri latches onto it; then walk and the object follows you. Release with ZR to drop it. This is how you shunt boulders off switches, fill a gap with a displaced box, or drag a chest out of sand.
The deeper trick is Reverse Bond: while bound, hold the button to follow the motion of whatever you attached to. If an object already moves — a platform, a rotating piece — Reverse Bond turns its motion into your route. Use Bind on suspicious, misplaced objects before you ever consider stacking echoes, and clear your summons and rebuild cleanly if a room gets cluttered. Treat Bind as a second pair of hands, not a last resort, and many rooms that look like dead ends reveal a simple object you were supposed to move.
Swordfighter Form and Boss Openings
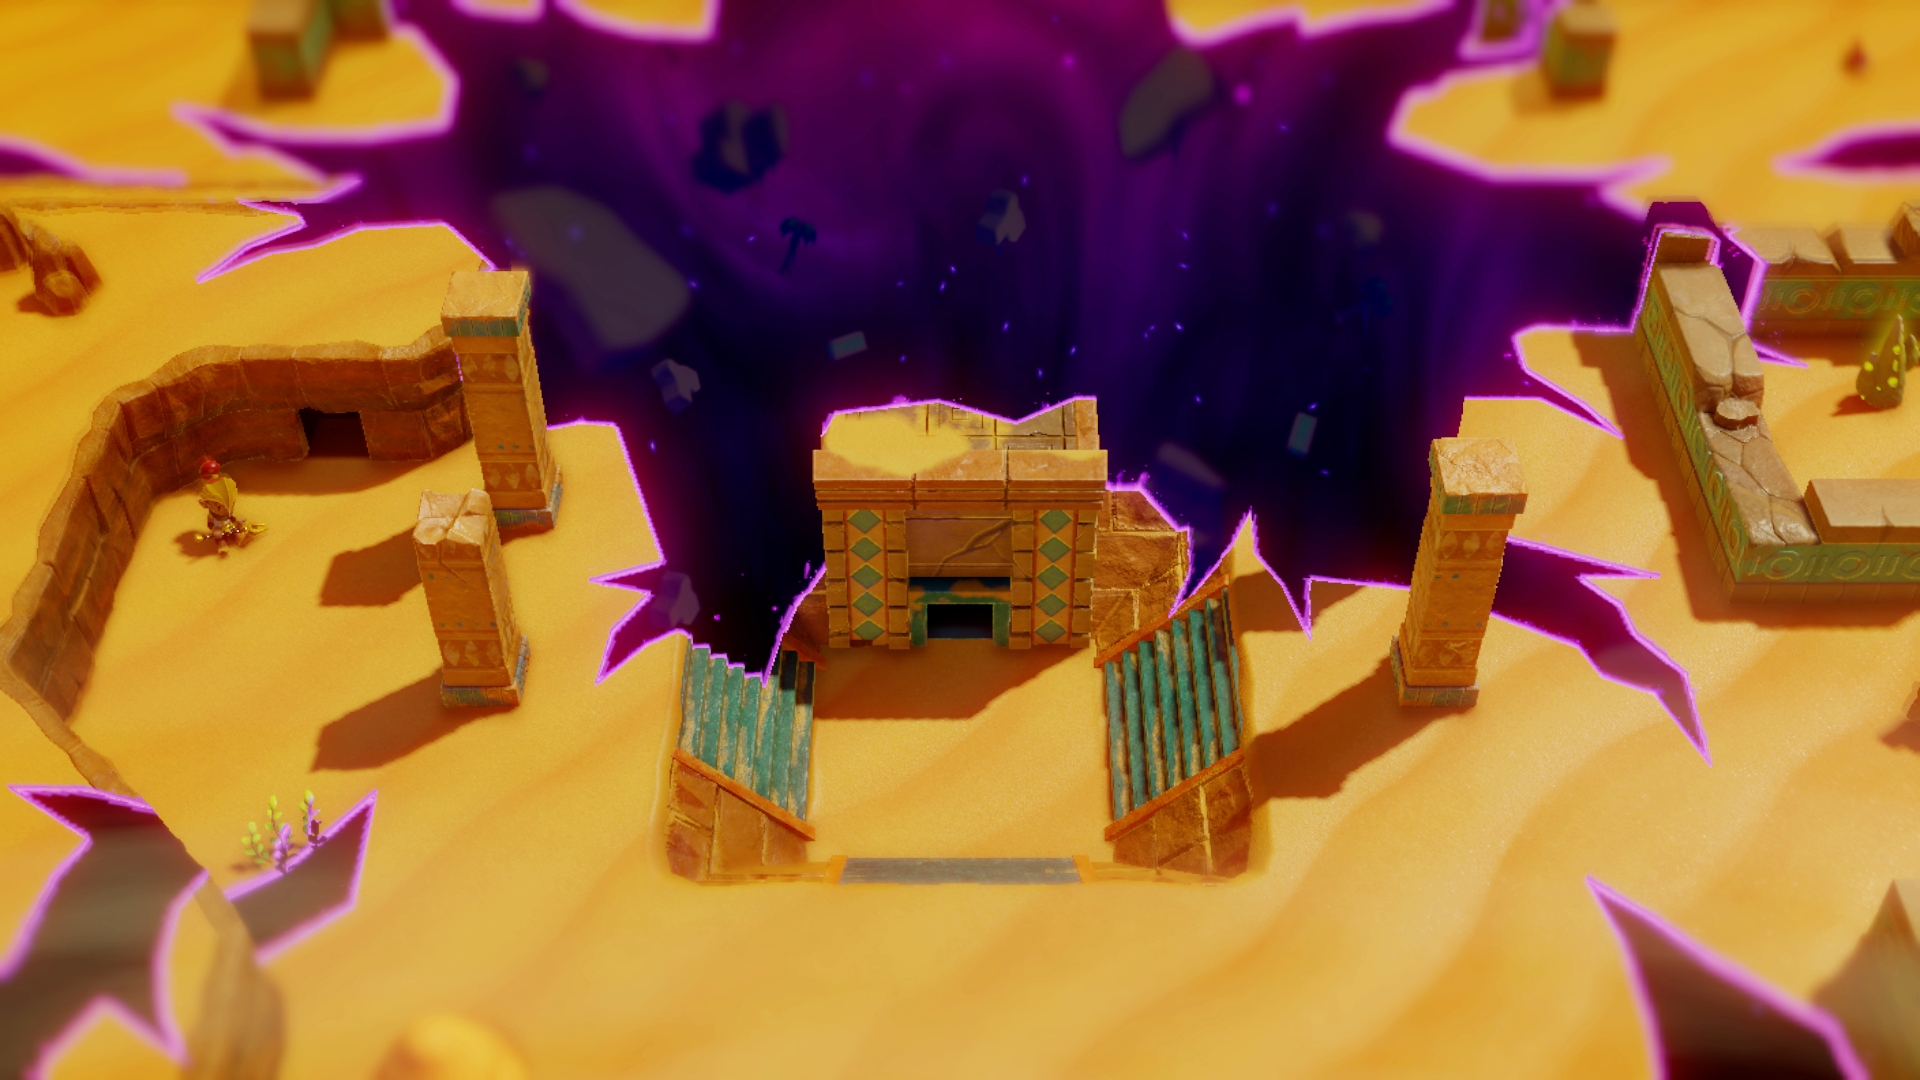
Zelda gains the Sword of Might in the first dungeon, which unlocks Swordfighter Form: raise the sword to transform, attack with your strikes, defend with a shield, jump higher than usual, and hold to charge a spin attack. The catch is the energy gauge — it drains while transformed and you drop out automatically when it empties, so you cannot live in this form.
Use it as a short burst, never your only plan. The smart pattern for bosses is to let your echoes soften or stun the enemy, then flip into Swordfighter Form during the stunned opening to land direct damage, then retreat back to echoes. Hoarding the form for the entire game wastes it; spending it in tight, purposeful windows is what clears tough fights. Refill energy by gathering the glowing motes the game drops, and consider the Bow of Might or Bombs of Might tools for ranged pressure while transformed. The form is a scalpel, not a crutch.
Common Stuck Points and Fixes
- Can't reach a high chest: you usually need a strand or rope echo to climb to the ceiling, then drop a second strand beneath the gap. Build upward in two steps.
- A boulder blocks a switch or path: Bind it and walk it onto the plate, or drop it into a pit to open the route.
- Underwater section with a dive timer: keep Water Block and Bombfish handy; use air vents to top up the timer before escape sequences.
- Combat room won't clear: stop swinging — summon a monster echo to draw fire and use ZL targeting to direct it.
- Echo list too long to read: sort and favorite; mark four or five dependable tools and ignore the rest until needed.
Finally, keep your game updated. Nintendo patched the title after launch (Ver. 1.1.0 in June 2025), and some UI conveniences like favorites only behave correctly on current versions. A stuck screen is almost never a wall — it is a prompt to rethink the objects, not the sword.
Room Grammar: Reading What the Designers Left Around
Rooms in this game advertise their own solutions. Every dungeon is built to be solvable with what is already visible in it, so the useful skill is not memorising a long echo list but learning to read props as instructions.
Identical objects already stacked in a corner are not decoration; they mean the room wants height, and your first attempt should extend what is there rather than invent your own tower. An object clearly misplaced beside an empty socket is asking to be moved, and a visible reward with no obvious route to it usually means the route is vertical rather than that the designers forgot. Endlessly respawning enemies in a puzzle chamber are rarely meant to be fought out — they are there so something else can deal with them while you are busy elsewhere.
Camera work is another tell. The angle you get on entering a room almost always frames the relevant prop, so the first thing that catches your eye is usually the intended first move rather than an accident of rendering.
| What you notice | What it implies | First thing to try |
|---|---|---|
| A stack of identical objects already present | Height is the obstacle | Extend the existing stack |
| An object sitting beside an obvious empty slot | Placement, not creation | Move the object into the slot |
| A visible reward with no ground route | Vertical approach needed | Look up, then build a second-level route |
| Endless enemy respawns | The enemies are a resource, not a fight | Summon something to occupy them while you work |
| Multiple pressure plates | Simultaneous weight sources needed | Cover several at once rather than one at a time |
Reading the room this way cuts most solutions to a single action, which matters because your summon budget is small for a long stretch of the game.
Cost Escalation: Spend Up Only When You Must
Rather than searching for the perfect echo, ascend a cheap ladder and stop as early as possible. Start with whatever already exists in the room, since moving a placed object costs nothing beyond attention. Move to the simplest single-purpose summon only if nothing present will do. Reach for combination builds last, and treat them suspiciously — most intractable-feeling rooms are solved by one well-chosen placement, while most over-built rooms quietly block the player's own path back.
Also plan around impermanence. Summoned objects are not fixtures: they lapse when you put real distance between yourself and them, so anything built three rooms ago will not be waiting on the return trip. That fact should shape routing. If a solution needs the same tool twice, try to order your actions so both uses happen while you are still nearby, and never pause to survey a puzzle while standing on your own construction.
| Obstacle | Cheapest answer | Escalate to | Stop before |
|---|---|---|---|
| A modest height gap | Single platform object | Two stacked | Building a staircase when one step suffices |
| A wide crossing | Bridging object placed at the lip | Several placed end to end | Rebuilding the same bridge twice because it expired |
| A floor hazard | Buoyant block | Buoyant block plus a spare | Solving with combat echoes at all |
| Vertical distance to a ceiling | Climbing strand | Strand plus a drop route | Multiple simultaneous summons |
| Enemies blocking a switch | Directing attention away from yourself | A stronger combat summon | Spending your whole budget before the actual puzzle |
The habit worth building is asking what the next-cheapest alternative is after every success. Most rooms have two valid answers, and knowing the cheaper one is what keeps later budgets comfortable.
Four Solutions That Almost Work, and Why They Fail
| What goes wrong | Why it happens | The real fix |
|---|---|---|
| Zelda cannot quite climb onto what you built | The step height is wrong rather than insufficient — either too tall or too short to mount | Change the object family entirely for the vertical portion instead of stacking one more of the same |
| The platform vanishes while you are on it | The summon expired because distance grew, not because time ran out | Rebuild closer to the crossing and move across without stopping |
| Your summoned helper fights the wrong target | Placement determines engagement order, and you placed it where the wrong enemy arrives first | Reposition deliberately on the side you want engaged, then retreat so you become the second target |
| The budget runs dry halfway through a build | Earlier summons were never cleared and are silently still consuming allowance | Clear everything and rebuild in one continuous pass rather than topping up a partial structure |
Note the pattern across all four: each is a planning failure rather than a knowledge failure. In every case the player already owned the correct tool and simply used it at the wrong distance, height, or moment.
A Replay Drill for Cheaper Solutions
Depth comes from revisiting solved rooms with a stricter rule, not from consuming new content faster. After clearing each dungeon, pick three rooms you remember struggling with and return to each.
Round one, note the combined cost of the solution you originally used. Round two, clear it again for strictly less cost than before. Round three, attempt it using no summoned solution at all, relying only on objects already present plus moving them. Record the three numbers, and treat any room you cannot solve more cheaply the second time as a room you memorised rather than understood.
A second variant builds the same discipline into combat. Clear an encounter using no direct transform at all, letting summoned helpers do every bit of the damage. If that feels impossible, it usually means you have been relying on the transformed state as a crutch for a matching problem you never learned to answer with echoes.
Finally, calibrate your sense of the summon range limit deliberately. Create one platform, walk away counting rooms, and note roughly how far you get before it expires. Knowing that distance turns level design from guesswork into routing, and it stops the most common late-game frustration of building a bridge that will not survive long enough to be crossed twice.
🏷️ Related Tags
🔥 Topics
Apex Movement From Zero to Slide-Hopping: The Core Techniques
Next →Elden Ring Opening Route: Farm the Peninsula Before Stormveil